Settings Panel
Tap the speed display button (![]()
![]()
![]() ) on the upper left of the turntable to show the settings panel from left side.
) on the upper left of the turntable to show the settings panel from left side.
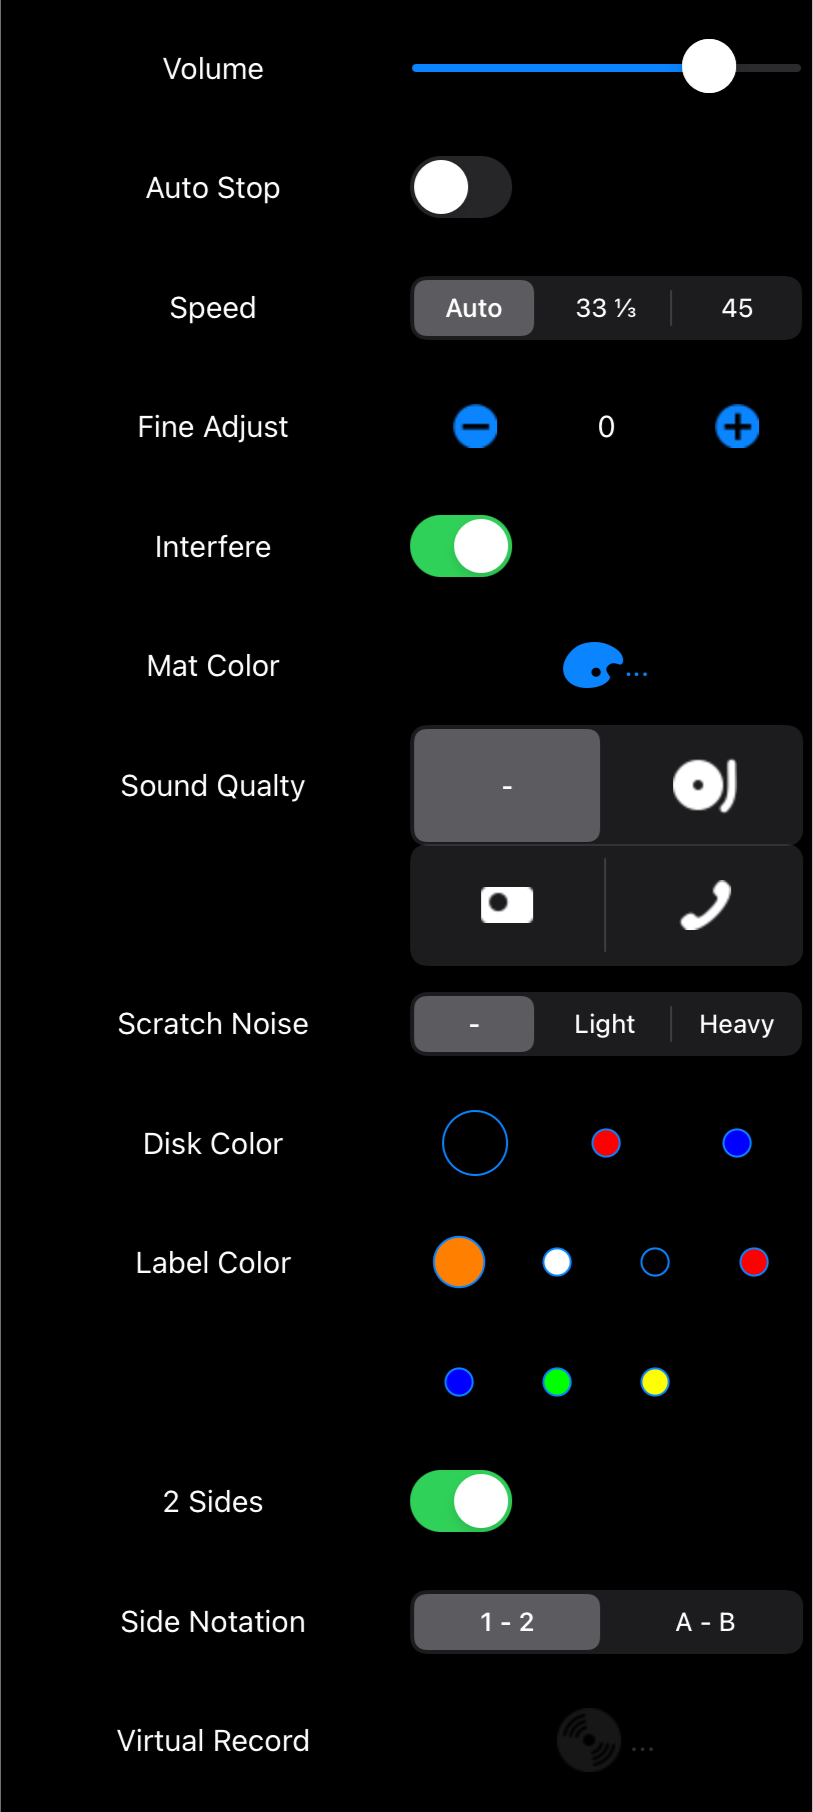
Here you can set various feature of this player.

1. Exit Settings
Swipe left the settings panel or tap the "Done" button at the bottom left to disappear the panel.
2. In-app Purchase Information
When you tap the button at the bottom center of the panel, a dialog with in-app purchase information regarding extra features will appear.
During the trial period, the remaining days or time will be displayed in this dialog.
Note: This button will not appear if you have a paid version of the app or have made any paid in-app purchases.
3. User Guide
Tapping the "?" at the bottom right of the panel will invoke the user guide (this page).
If you have paid vaersion, have purchased extra features or a trial of extra features, all items will be displayed in the settings panel; otherwise only the Volume will be displayed.

- Volume
- Speed Selection
- Fine Adjustment
- Auto Stop
- Interfer Switch
- Sound Quality
- Scratch Noise
- Mat Color
- Disk Color
- Label Color
- 2 Sides Switch
- Side Notation
- Virtual Record
Volume
Adjust the playback volume for this app with the slider to the right of the "Volume" label.
Speed Selection
You can select the rotation speed of the turntable with the selector to the right of the "Speed" label.
When "Auto" is selected, the number of rotations is automatically selected according to the number of songs on the record and the total playing time when playback starts.
You can also force the wrong speed selection, such as selecting 45 (rpm) for LP disk or 33⅓ (rpm) for single disk.
When the playback ends (the record has been removed from the turntable), it returns to the "Auto" selection state.
Fine Adjustment
By tapping the ![]() button or
button or ![]() button to the right of the "Fine Adjust" label, you can fine tune the speed from -200 cents to +200 cents in steps of 25 cents.
button to the right of the "Fine Adjust" label, you can fine tune the speed from -200 cents to +200 cents in steps of 25 cents.
Note: It will be reset to "0" when playback is exited.
Auto Stop
Depending on whether the switch to the right of the "Auto Stop" label is OFF or ON, the operation after one side has been played is as follows.
| Switch | Behavior |
|---|---|
| OFF | The tone arm stays on the locked groove and the turntable continues to rotate. (A scratching sound peculiar to the locked groove occurs with each turn.) |
| ON | The tone arm automatically returns to the home position at the right end and lowers, then the turntable stops rotating. |
Interfere Switch
Turn on the switch to the right of the "Interference" label, you can perform the following trick play.
| Trick | Operation |
|---|---|
| Sound Skipping | Keep touching the tonearm, you can make the sound skipping about every rotation. |
| Tapping | A trick that can't be played with a real record player, but if you tap in succession the tonearm during playback, it will repeat from the first tapped playback time with each tap.
The playback time is cleared when the tap interval is extended by one rotation or more. |
| Braking | Touching the record groove on the turntable will brake the rotation. The braking action is zero when the touch is closer to the center, and is greater when it is closer to the periphery of the record. |
| Drag |
You can drag the turntable to play like scrubbing or scratching.
Note: In this app, dragging by touch on the vinyl record is not able. If you want to play with dragging, a 7 inch record will make the wider turntable area and easier to play. |
Sound Quality
With the selector to the right of the "Sound Quality" label, you can select a deliberately degraded retro sound quality.
Note: It will be reset to "-" when playback is exited.
| Select | Sound Quality |
|---|---|
| No sound quality deterioration | |
| Portable player sound quality | |
| Transistor radio sound quality | |
| Telephone line sound quality | |
Scratch Noise
With the selector to the right of the "Scratch Noise" label, you can intentionally add noise specific to vinyl record playback. ("-" means no additive.)
Note: It will be reset to "-" when playback is exited.
Mat Color
When you tap ![]() to the right of the "Matte Color" label, a color palette appears and you can adjust and change the color of the turntable mat to your liking.
to the right of the "Matte Color" label, a color palette appears and you can adjust and change the color of the turntable mat to your liking.
Disk Color
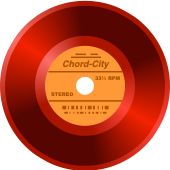
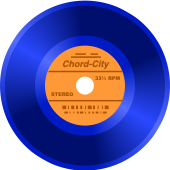
Select the color of the record disk with the color selector to the right of the "Disk Color" label.
Note: Reset to black when playback is exited.


Label Color
Select the color of the record label with the color selector below the "Label Color" label.
Note: Reset to the leftmost color when playback is exited.
![]()
![]()
![]()
![]()
![]()
![]()
![]()
2 Sides Switch
If there are two or more songs on the record, it will be treated as 2 sides by default, and the song list displayed on the back of the jacket will be divided into 2 sections.
(Divided automatically so that the playing time on one side will be about half of the total playing time.)
The switch to the right of the "2 Sides" label turn this 2 sides handling on and off.
Note: Changing the handling of two sides during playback, the tone arm will rise and playback will be paused.
Note: Return to the on state when playback is exited.
Side Notation
With the selector to the right of the "Side notation" label, you can select the side notation as numeric or alphabetic.
| Select | Front Side | Back Side |
|---|---|---|
| 1 - 2 | SIDE-1 | SIDE-2 |
| A - B | SIDE-A | SIDE-B |
Virtual Record
You can save the contents and appearance of the record currently playing as a virtual record on the Record Shelf.
If you make your favorite records and store them on the Record Shelf, you can play them immediately without any hassle.
It can include the following features:
- Title (It can be edited in the save dialog.)
- Artwork (Use the jacket artwork currently displayed.)
- Song list
- Song order
- 2 sides settings
- Record disk color
- Label color
- Amount of scratch noise
For convenience, the album title currently being played is displayed in advance at the input field, but when you tap it, a keyboard for character input appears and you can edit the title.
Enter the title and tap the OK button to add it to the Record Shelf as a new virtual record.
Edit Record Shelf
You can edit the contents of the Record Shelf on the dialog that appears when you tap "Record Shelf..." on the main screen.
Tapping the "Edit" button in the upper right of the dialog, will enter the edit mode with changing the button to "Done", and following operations are enabled.
| Operation | Details |
|---|---|
| Move | Drag |
| Delete | Tapping |
| Edit Title | Tapping title column of the item will appear a keyborad to edit the title. |